Why Misreading the Rose Farm Contours Obscures the July 2 Fighting
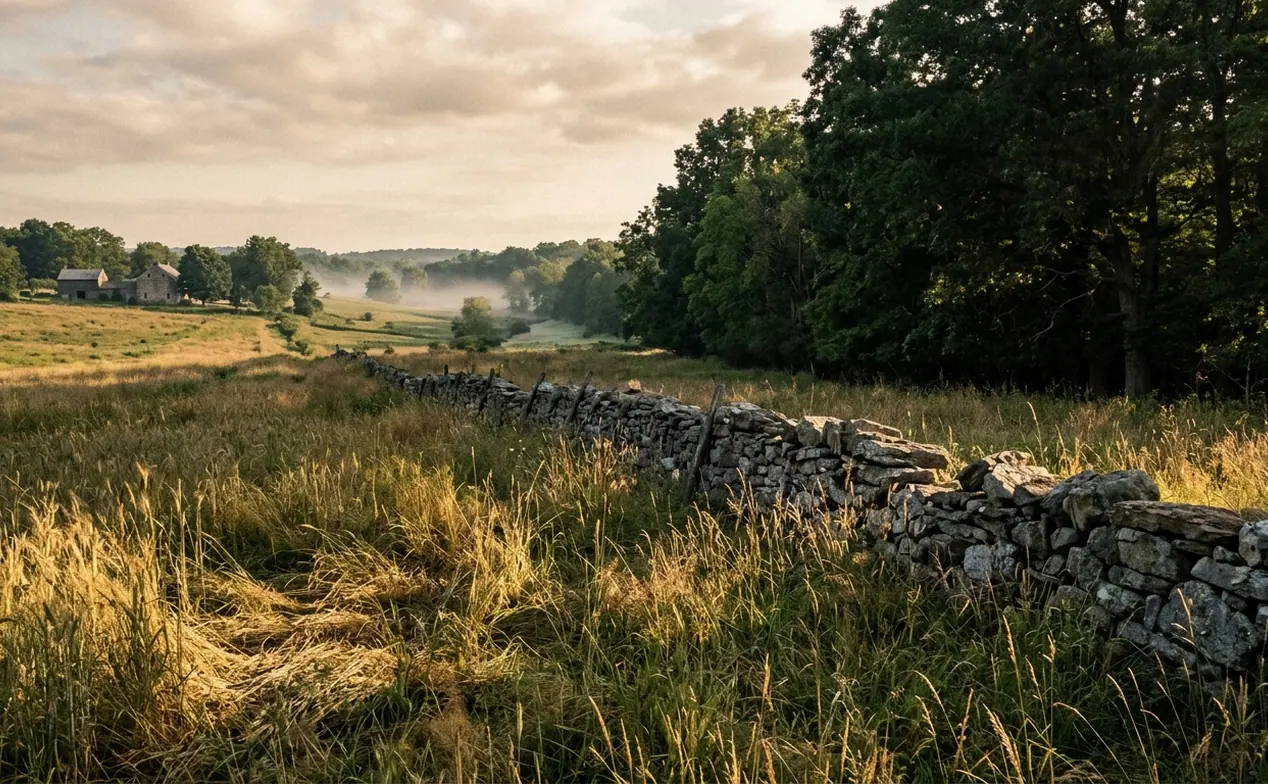
Treat the Gettysburg Wheatfield as a flat clearing, and the fighting on July 2, 1863 becomes difficult to explain. Veteran brigades changed direction, lost contact with neighboring regiments, and encountered fire from unexpected quarters. The contours of John Rose’s pasture and wheat tract help explain how those disruptions developed. Open ground offered remarkably uneven opportunities to see and command.
Begin with the boundaries. The Wheatfield Road crossed the northern margin; Rose Woods enclosed the western and southern approaches. Stony Hill, also called the Wooded Bluff, rose on the west. Houck’s Ridge framed the eastern approaches above the drainage of Plum Run. Within that enclosure, the ground generally descended toward the southeast, while smaller folds interrupted sightlines across the grain.
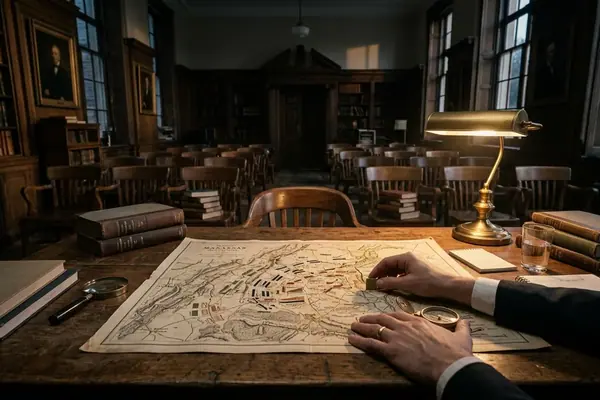
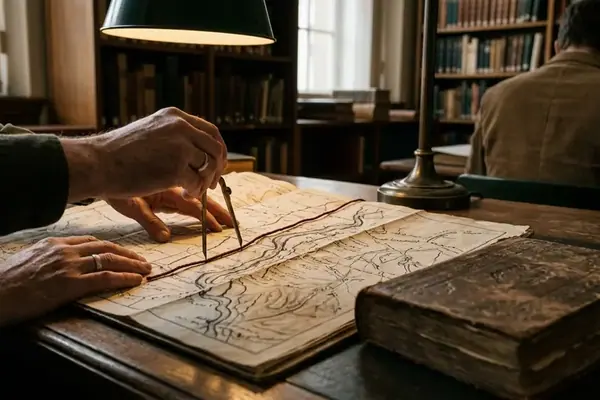
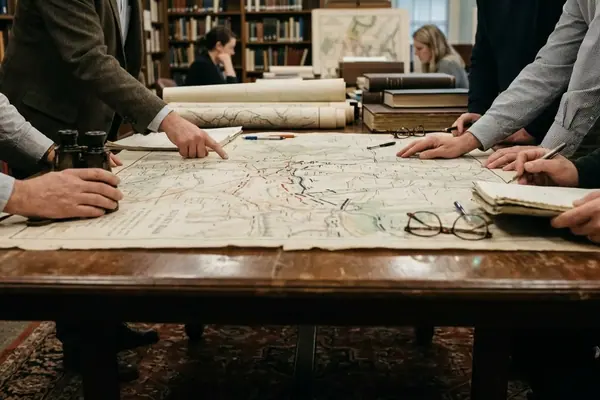
The result was a tactical funnel with broken visibility. Units entering from different edges could converge before their commanders understood their relative positions. A map showing regimental fronts as continuous lines makes those relationships look easier to maintain than they were. Reading the engagement requires following both the direction of movement and the ground that disappeared from view.
Stony Hill and the Rose Woods: The Western Concealment Screen
Elevation provides a firing advantage only where soldiers can see through or beyond the cover occupying it. Stony Hill illustrates that distinction. Its rocky, wooded crown offered Union troops an elevated position, but trees, boulders, and falling ground divided the surrounding battlefield into separate visual compartments.
Third Corps infantry defended the western approaches, while the Fifth Corps brigades of William S. Tilton and Jacob B. Sweitzer also occupied this contested ground during the fighting. Confederate troops advancing through Rose Woods used the same timber as a screen. Joseph B. Kershaw’s approach and George T. Anderson’s movement through the southern woods therefore belong on a terrain map as routes through concealed ground, rather than simple arrows across an open surface.
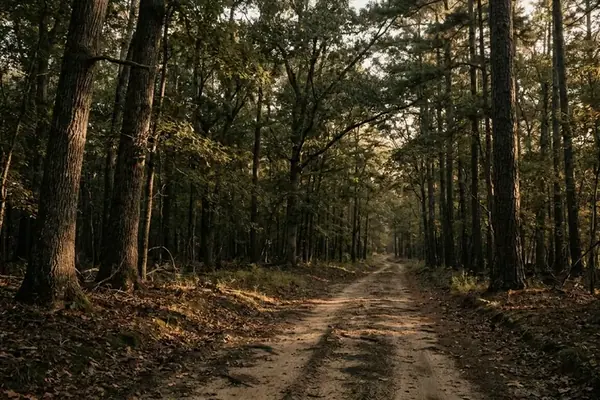
The southern bend of Rose Woods and the gully of Rose Run deepened that concealment. A regiment could approach beneath the woodland edge while an opposing line watched the apparently quiet timber above it. Brush obscured bodies; the falling grade concealed movement farther back.
For commanders inside the woods, the reverse problem mattered just as much. The grain beyond the trees offered fragments of visible movement, interrupted by trunks and changes in elevation. Sound helped officers locate fighting, but a volley could not reveal a neighboring regiment’s precise alignment. Orders based on that incomplete picture could reach troops already facing a different tactical situation.
The Central Swale, the Stone Wall, and Dead Ground Across the Grain
From the southern wall, lowering the viewpoint changes the apparent shape of the Wheatfield. The central swell rises into the foreground and conceals ground beyond it. This is dead ground: terrain that a particular observer cannot see or directly cover from that position. Its extent changes with posture and location.
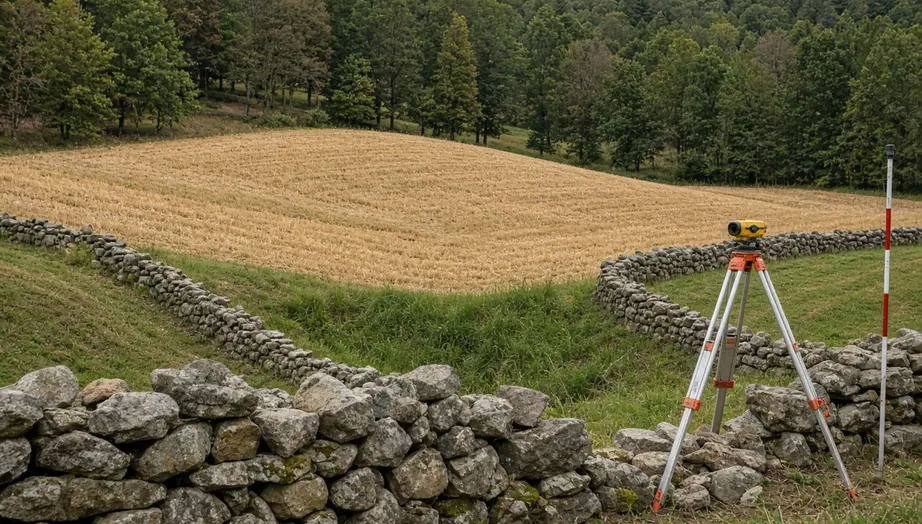
The northeast-to-southwest undulation mattered because infantry crossed it while trying to preserve alignment. Men near the crest could become visible before those behind them understood what lay ahead. Kneeling or prone soldiers could disappear behind a rise that seemed inconsequential on a broad battlefield map.
Along the southern margin, the stone wall gave the 17th Maine a recognizable defensive alignment. Adjoining rail fences extended the obstacle toward the eastern approaches. Such barriers helped troops organize their frontage, yet their ends became vulnerable when an enemy moved beyond the line they defined.
Sweitzer’s second advance supplies the clearest tactical test. As his brigade crossed diagonally through the grain late in the fighting, its movement over the central swell exposed it to converging threats: William T. Wofford’s Georgians approached along the Wheatfield Road, while Kershaw’s troops threatened from the southern sector. The brigade’s direction of advance and the enemy’s changing position combined to expose both front and flank.
Follow that sequence across the ground. First identify the rise, then mark the northern approach and southern wall. The danger becomes legible as a changing geometry of fire rather than an unexplained collapse in an open field.
Houck’s Ridge and the Plum Run Gorge: The Eastern Choke Point
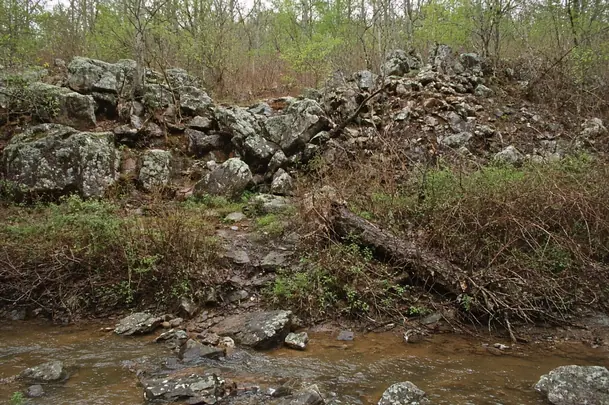
The Wheatfield’s eastern exit imposed a different problem: movement through obstacles. Houck’s Ridge carried a rocky spine above Plum Run, where boulders, wet ground, and brush interrupted routes toward Little Round Top. A retreating formation had to descend, negotiate the drainage, and recover its alignment while other troops moved through the same approaches.
For artillery, the open northern shelf near the Wheatfield Road offered room to deploy and access to a withdrawal route. George B. Winslow’s battery position belongs in that relationship between firing ground and escape ground. Guns, limbers, and teams needed a practicable route behind the position; the rocky descent toward Plum Run sharply constrained that choice.
For infantry, the drainage compressed retreating elements of several Union corps and complicated the advance of Romeyn B. Ayres’s Regular Division. Studying the Wheatfield alone leaves this congestion outside the frame. Extend the map eastward, and the connection becomes clear: an apparently available exit from the grain led into ground that broke formations into smaller streams.
Walking the Ground Today: Four Positions for Testing Wheatfield Sightlines
A perimeter walk and a cross-field walk answer different questions. The perimeter reveals concealed approaches and blocked exits; crossing the grain reveals when a soldier becomes visible. Start with the perimeter to establish the enclosure, then test the central swell.
- Irish Brigade monument on Stony Hill: Look toward the grain and identify where the wooded slope interrupts your view of the field’s western margin.
- Southern stone wall corner: Follow the wall’s alignment, then look beyond its western end to understand how an overlapping force could threaten troops sheltering along it.
- Center of the Wheatfield Road: Look south across the grain. Separate the visible surface from the ground concealed behind the central rise.
- Crest of Houck’s Ridge: Examine the descent toward Plum Run and trace a practicable route through the rocks toward Little Round Top.
During summer visits, separate crop and foliage screening from the underlying landform before recording a sightline.
Academic Sources
- Harry W. Pfanz, Gettysburg: The Second Day. University of North Carolina Press, 1987.
- U.S. War Department, The War of the Rebellion: A Compilation of the Official Records of the Union and Confederate Armies, Series I, Volume XXVII, Parts I–II. Government Printing Office, 1889.
- National Park Service, Gettysburg cultural landscape documentation concerning the Rose Farm. See Gettysburg National Military Park official reports and terrain maps.
Next, stand at the center of the southern stone wall, lower your eyes to roughly four feet above the turf, and sight north toward the Wheatfield Road; hold that position and trace where the central swell hides the roadbed.